
After butchering in March, we used a beautiful April afternoon and set things up to render the fat into cracklin’s and lard. A friend had her fat stored in the freezer, so we got together invited a few friends and had a good old-fashioned Lard Renderin’! I use lard in my cooking on a regular basis. I use it as the starter fat for pepper gravy, use it in all my pie crusts, and for frying pretty much any meat. I use much like shortening in any cooked dish. It is additive free, wholesome, and FREE, as the fast is the “left-overs” from butchering hogs. One of these days, when I get a bit of time, I will experiment with making soap from the lard, as well. I’ve been told that lard or coconut oil make the richest lathers and best moisturizing soaps. But, that is for another day. Let’s move on to the rendering process.


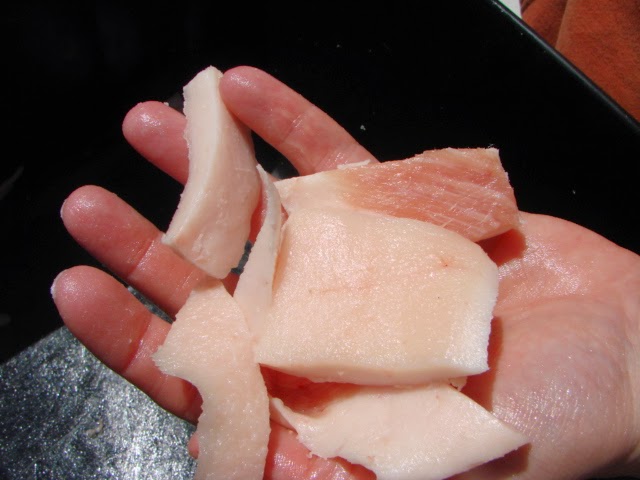
After thawing, the large pieces of fat were cut into small pieces and ran through the meat grinder. This is not an absolutely necessary step, but it saves many hours of cook time in the rendering process. We had ground ours before freezing, but our friend had not, so we whipped out the grinder and got it ground down in just a few minutes.


We have a large cast iron kettle that sets up on a steel frame with four legs. To get some extra height, and be able to make a larger fire, we put the legs up on concrete blocks, allow more wood underneath. After warming the kettle, and wiping it out, we added a cup of water. This prevents the first fat from sticking and scorching as the higher temperature is reached. The fat was added in two different bunches, which gave it time to melt some down before it was all added, again, preventing scorching.


The length of time the process of cooking out the water, and melting down the fat varies. As the fat heats up, you see the water rising to the top and “boiling off” in the form of bubbles that almost looks like foam. On this batch, we lit the fire at noon, and finished up…..had cracklin’ cornbread and apple pie with lard crust…..and were pretty much cleaned up by 5. The wind kicked up so we had to improvise a wind break with a couple of our tables. This worked pretty well and is something I will try to remember for the next time we need a wind break on a fire.
We spent the afternoon visiting, watching the kids play and planning future projects. Here are a few pictures of the time spent waiting for the water to boil off.


As the water is boiled out, the cracklin’s cook, darken and settle to the bottom. The cracklin’s are dipped from the bottom by a metal strainer. We have decided we are going to watch for a large metal mesh strainer and put it on a long handle. This should save some back ache and burns!


The cracklin’s are spread on baking sheets to cool and drain before packaging.


We have two aluminum pitchers which work well for pouring up the lard into the containers. It must be strained to remove any cracklin’s and other residue before the final cooling. We use white flour sack tea towels to strain. The towel was placed into a metal strainer which just fits on the tin container. Always be sure to all metal at this point, as the temperature is hot and will melt anything that is plastic.


I use popcorn tins to hold our finished lard for the final cooling. Cheryl bought unused paint cans for hers. Great idea, as I will have to repackage mine into something more freezer friendly, while Cheryl’s is ready for the freezer as soon as it cools. There are mixed feelings about storing lard in the freezer/refrigerator or out at room temperature. Perhaps our ancestors used the lard more quickly than I do, but I learned that if left at room temperature, the lard will mold and be wasted. I keep mine in the freezer for long term storage, then place in the refrigerator as needed for use.


The final product looks dark in the tin container, but as it cools, it becomes much lighter in color, almost white.

I prefer to package our cracklin’s in resealable plastic freezer bags. This way we can remove what we want to use and re-seal the others for later use.

After the hard work of the afternoon, we enjoyed some cracklin’ cornbread with hot dogs over the fire, and apple pie with good old-fashioned lard crust. I love using my iron skillet for cornbread; it comes out perfect every time. One of these days I hope to find a cast iron pie plate. I’m not sure there even is such a thing. That makes me wonder…..could I make a deep dish pie in my cast iron skillet? Something new to try. I will let you know how it goes.
So, lard for another year has been rendered. Once again, we adapted a basic pioneer necessity to become an easier process by using some of our modern utensils and storage, my definition of Modern Pioneers.
Looks like fun was had by all. Would love to try some day.